
This blog provides you with guidelines on how to format your Project Submission. Following these guidelines will improve your chances for getting your project published on the Bolt IoT projects page here.
So let’s get started.
To write a Project Blog, you must first Create the Project Blog. And for that, go through the following steps.
Step 1: Login into the project submission site
- To login into the project submission site, click on this link,
- It will redirect you to the Bolt Cloud login page.

3. Now enter your login credentials of Bolt Cloud and in case you have used your google account to login into Bolt Cloud then click on Sign in with Google button.
4. After successful login, you will be redirected to the project submission admin dashboard.
5. In case you are already logged in to your Bolt Cloud account then just by clicking on this link, you will be redirected to the project submission admin dashboard.
Step 2) Creating Post
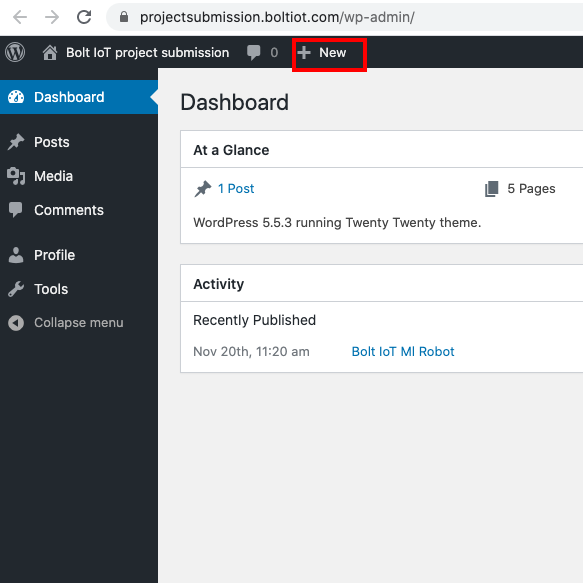
Check on “+Post” button just below that address bar. A new blog will be created, and you can start editing it.
Your Blog should contain the following.
Title
The title show up at the top of the page. The title of this Blog is “Submitting a project”. Add a catchy title that describes your project and also encourage the user to click on it. For example :
- 5 minutes, 4 steps and “Ok Google turn on the lights”
- Sanitize to fight COVID-19 using Bolt IoT
- Smart Door with Face Unlock using Bolt IoT
The title should be a minimum of 30 characters and a maximum of 50 characters. You can use https://www.lettercount.com/
Cover Image
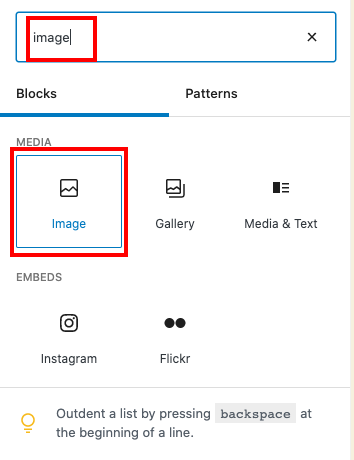
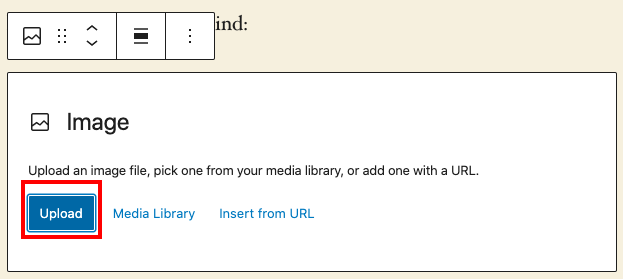
At the start of the project blog, add a cover image that describes your project. Ideally use a photo of the project or a screenshot if it’s a digital output. The following images show how to add an image.

Keep the following in mind:
- Do NOT use GIF
- Do NOT use images from the Google search or other sources where you do not own the rights to it.
- Cover image sizes should be of 300px high and 400px wide.
Story/problem
Why are you making this specific project, what problem are you trying to solve. The story/problem section explains this.
- Don’t add story/problem as a heading.
- The story should be of maximum 3-4 lines.
Things used in this project
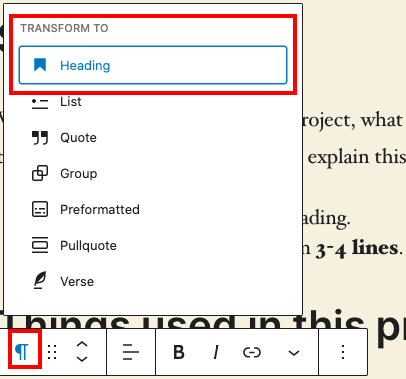
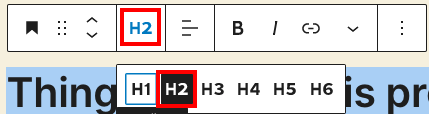
This is the first section which will have a heading. Use the line “Things used in this project” with the type Heading, and select H2 as the formatter.
Hardware components
Next as the sub-heading of type h3, “Hardware components”. Here you will add the details of the hardware components that you have used in your project. Keep in mind, the below points while adding the hardware components.
Things to remember in this section:
- Add a photo of the hardware component along with the name of the component.
- Embed a link in the name of the items listed unless they are included as part of the Bolt IoT starter kit or if they are commonly known.
Software, Apps and online services
The next sub-heading is the “Software, Apps and Online Services”. This is a h3 type of a heading. Add the details of the software/apps that you have used in your project. Things to remember in this section.
- Add the logo of the Software or App, or the logo of the service provider.
- Add the name of the software, app or service provider.
- Add a link in the name of the item listed.
Hardware setup
The hardware setup text should be mentioned with the heading h2. In this section you will add details of making connections. Things to remember in this section.
- Add the details about hardware connection in step-wise format.
- Each step should be clearly marked as Step 1, Step 2, etc. Make sure you follow this format only.
- Always add Schematics or photo of the circuit connection.
- Always divide into smaller steps and do not write a big paragraph for any steps.
- Where-ever required add photos to better explain what the step means.
Software Programming
The Software setup text should be mentioned with the heading h2. In this section you will write the details about software programming in a step-wise format.
- Even if the software has a guided user interface (GUI), add it into the software programming section.
- In case the setup is base on GUI add images to describe it.
- In case you have any longer programming code to explain, then host on https://gist.github.com/ and embed the code on the blog section.
- Short codes (6 lines or less) can be added to the blog directly, using the quote type of text.
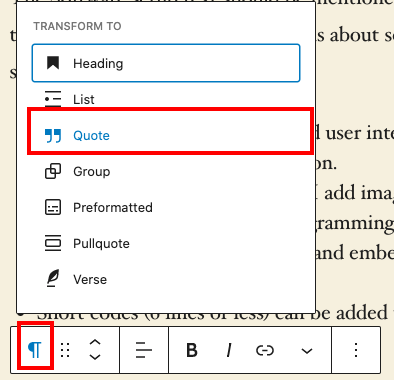
This is a quoted text. Add a short description for the code here.
Write the code here.
Conclusion
Your are almost done. Add the Conclusion header in h2 heading, and then type out what you managed to achieve by doing this project.
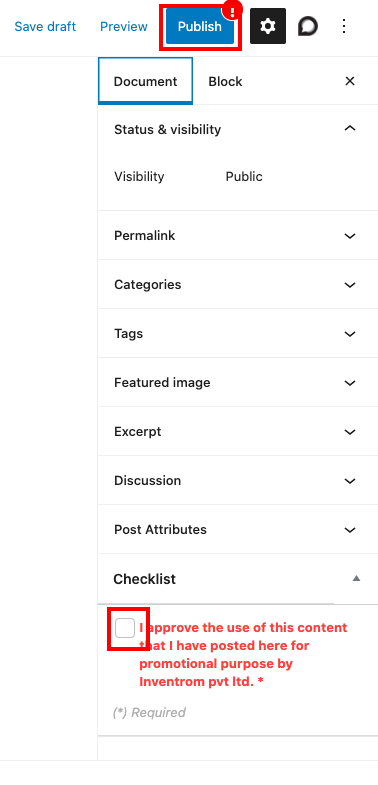
Once you have finished adding all the required details, click on the publish button on the top right corner. You might have to click on the checkbox before you can publish your post.
Next click on the “Submit for review” button which shows up.
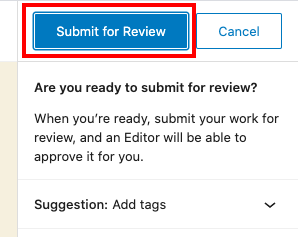
And that’s it. You have submitted your project to be reviewed by Bolt IoT.